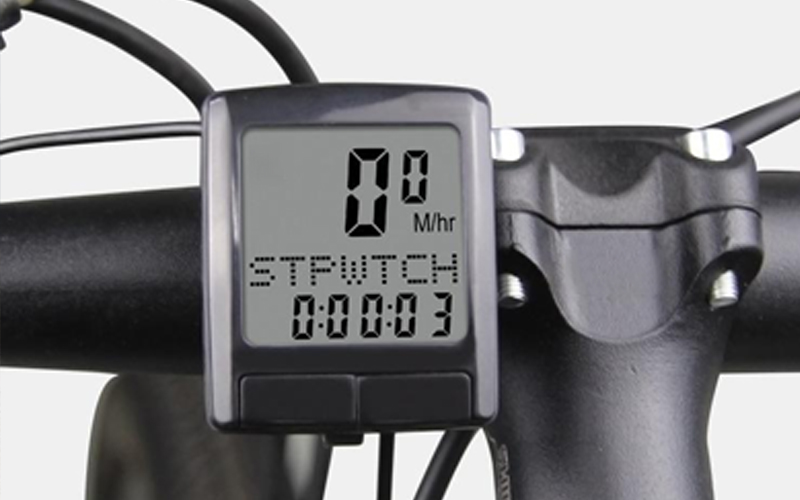
How to install the wired code table of mountain bike accessories?
Cycling is a very healthy and environmentally friendly way of sports and travel. Nowadays, more and more people in the city begin to choose bicycles. We can check the current speed, mileage, riding time and so on through the wired bicycle code meter, which can play a role in regulating the physical fitness of riding, and facilitate us to have better riding!
So how to install the cable bicycle code meter? Here is a brief introduction to its installation method.

Tools used in the installation process: tie, scissors, pliers, etc., cross screwdriver.
Next is the method / step:
1. Find out the accessories of the magnetic head, fix the magnetic head on the spoke of the front wheel with a cross screwdriver, and then tighten it.
2. Then install the inductor on the front brake, and fix the inductor with 2-3 ties. The linear distance between the two can be controlled at about 4mm. At the same time, the messy lines can be gathered with ties!
3. Then the line goes to the bicycle handle along the front brake bracket to install the base of the code meter. I am used to installing it on the right hand side. I still fix the base on the bicycle handle with a tie to prevent sliding during movement.
4. After installing the base, the next step is to install the electronic power supply for the code meter. Because the battery cover is not easy to open, you can open it with the key (or coin) and other accessories, put it into the battery compartment, and then close the cover.
5. After installing the electronic code meter, align the bottom of the code meter with the groove of the base for clamping installation. Pay attention to the installation direction. The contact between the code meter and the base should be in good contact before sensing.
6. After all the installation is completed, turn on the switch and debug at will.

